

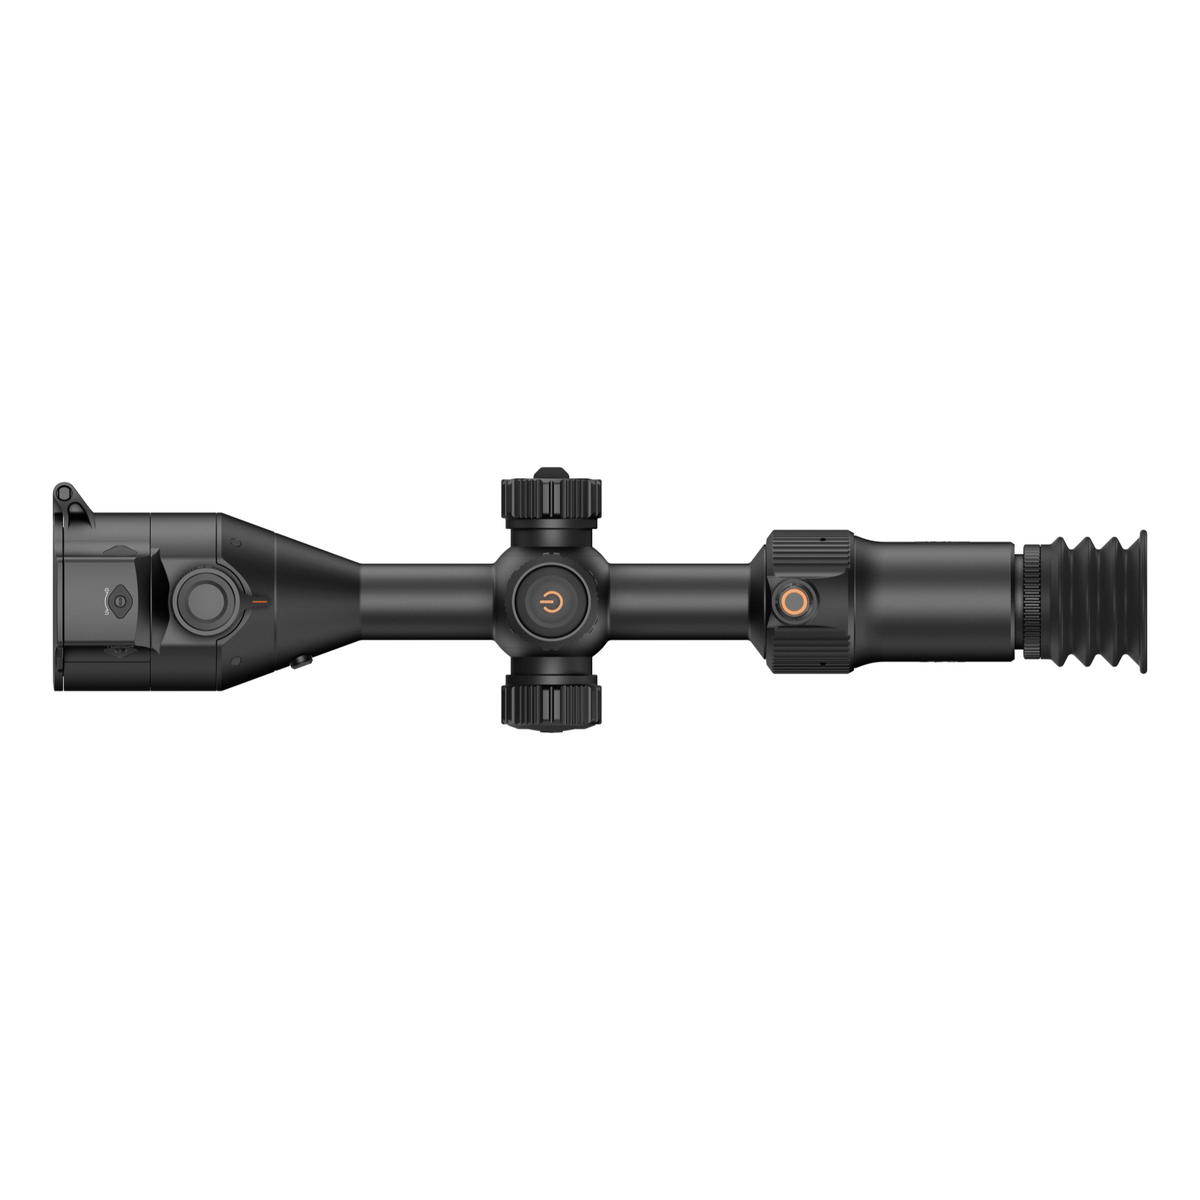
Product highlights
Sensor Resolution

Objective Lens

Optical Zoom

Display Resolution

NETD
Built-in Rangefinder
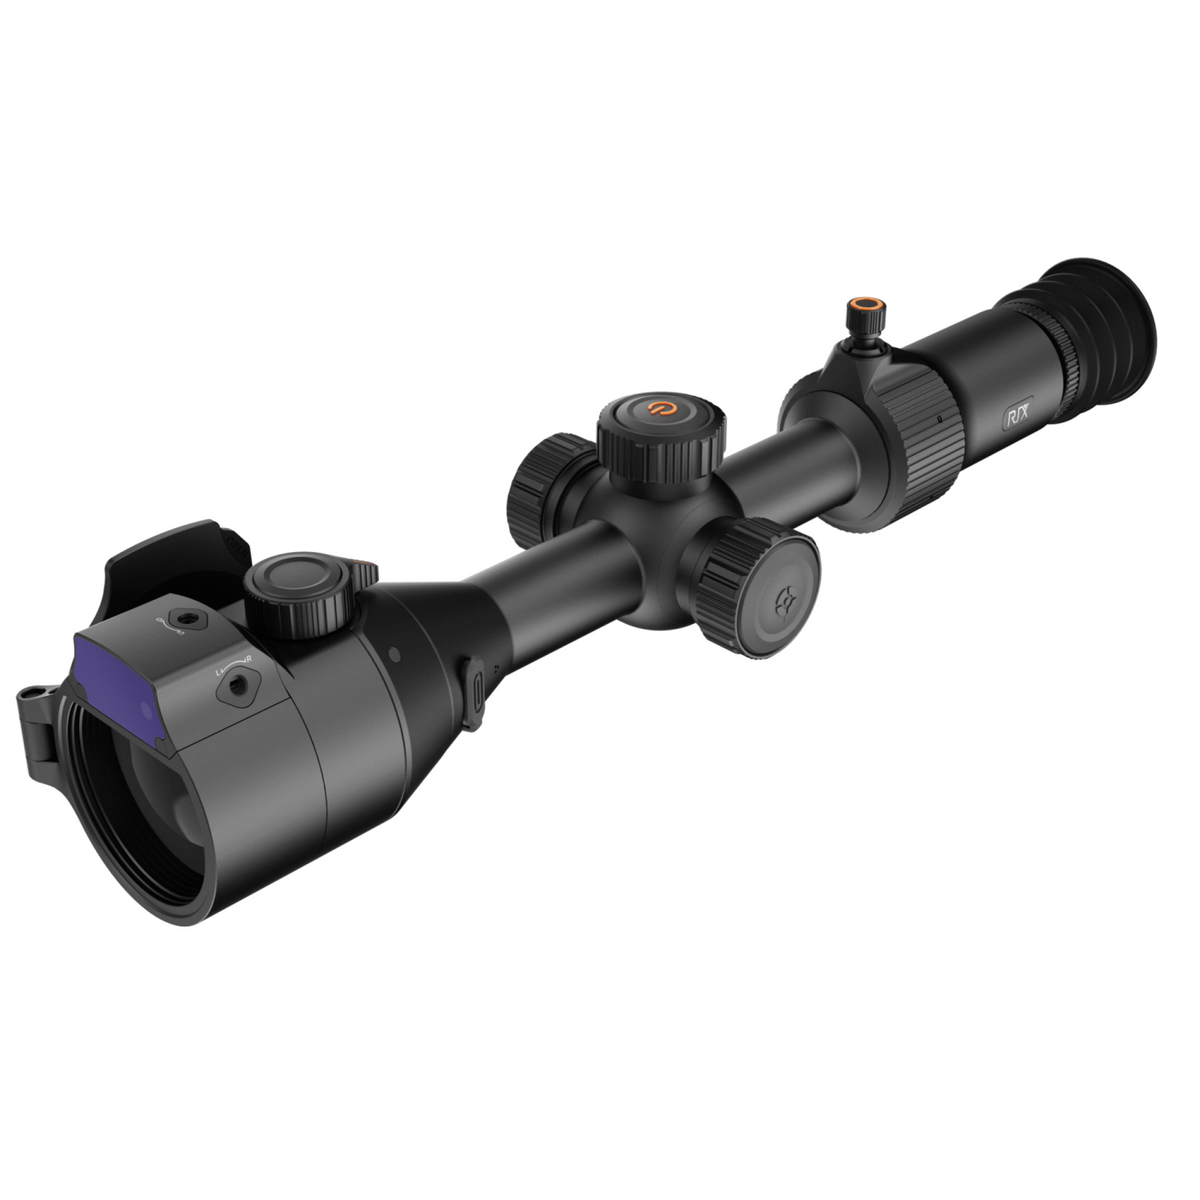
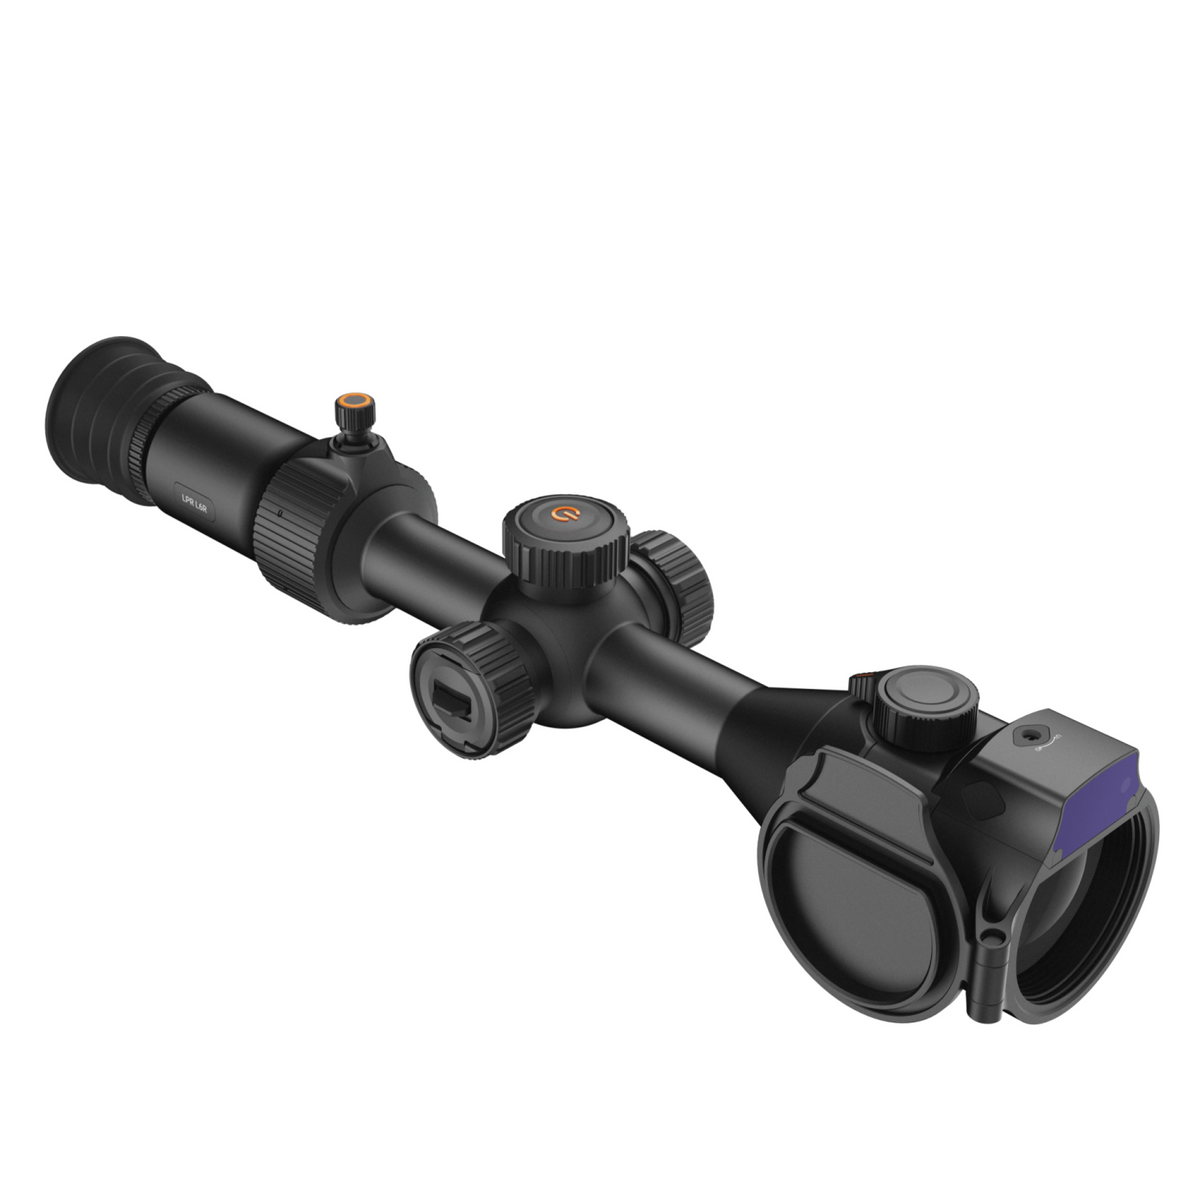
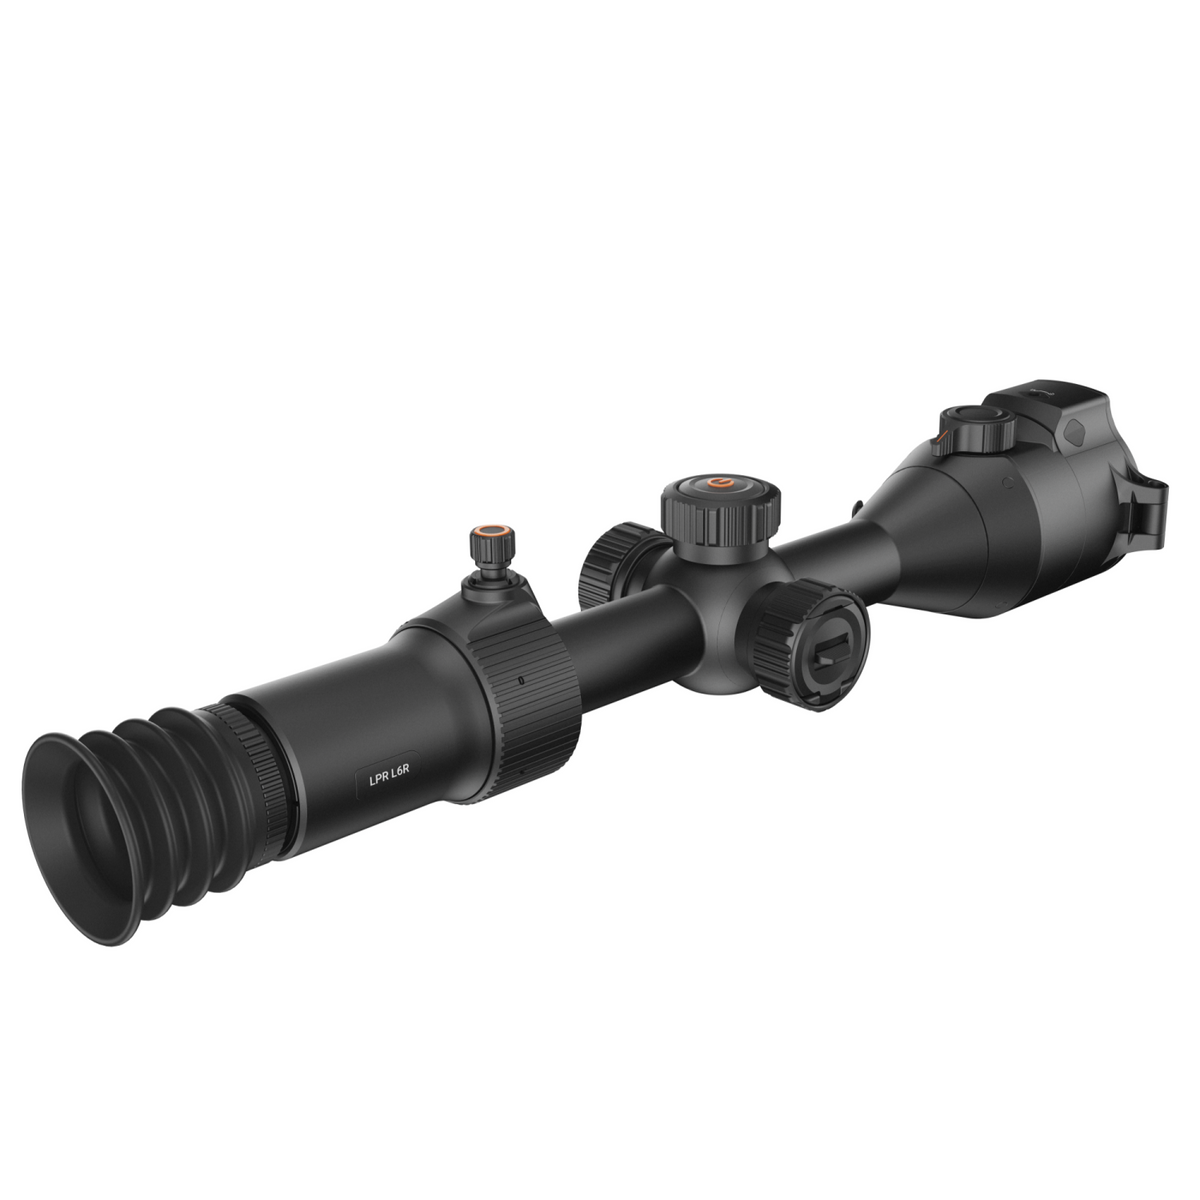
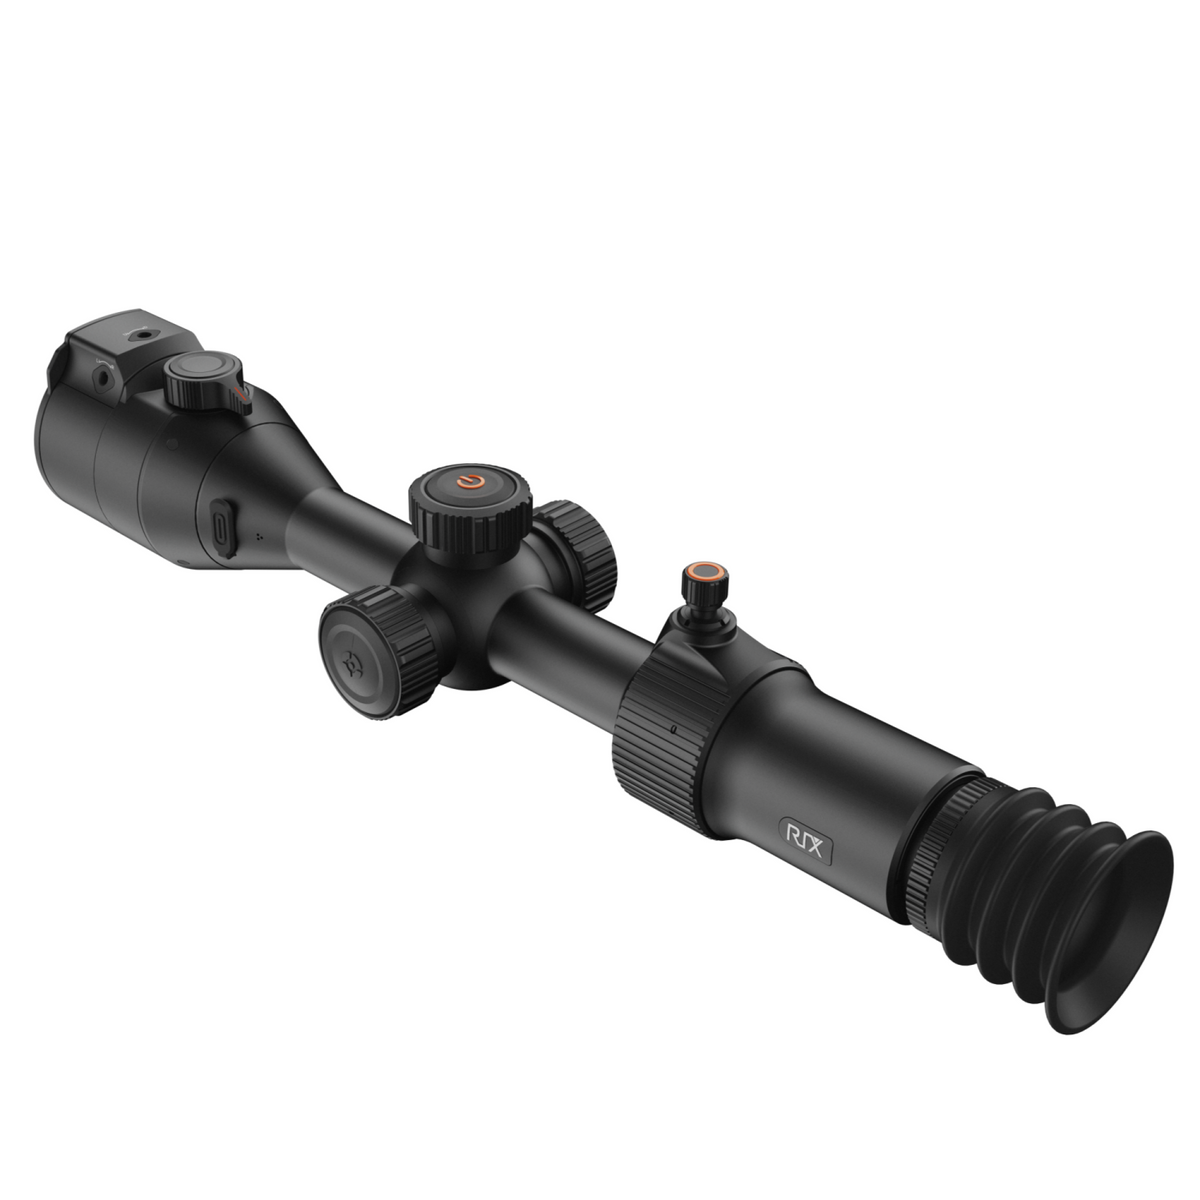
LPR L6R Thermal Imaging Optics
Product highlights
Sensor Resolution
Objective Lens
Optical Zoom
Display Resolution
NETD
Built-in Rangefinder
Free Shipping
5-Year Warranty
14-Day Hassle-Free Returns
Can't wait? Find Your Nearest Store → Where to Buy
WHY CHOOSE LPR
For those who appreciate fine craftsmanship and the feel of precision in their hands, LPR puts control where it belongs: at your fingertips. Every adjustment is deliberate, giving experienced users the freedom to fine-tune the scope exactly to their preference.
●Adjustable LRF Point
●Integrated Optical and Digital Magnification
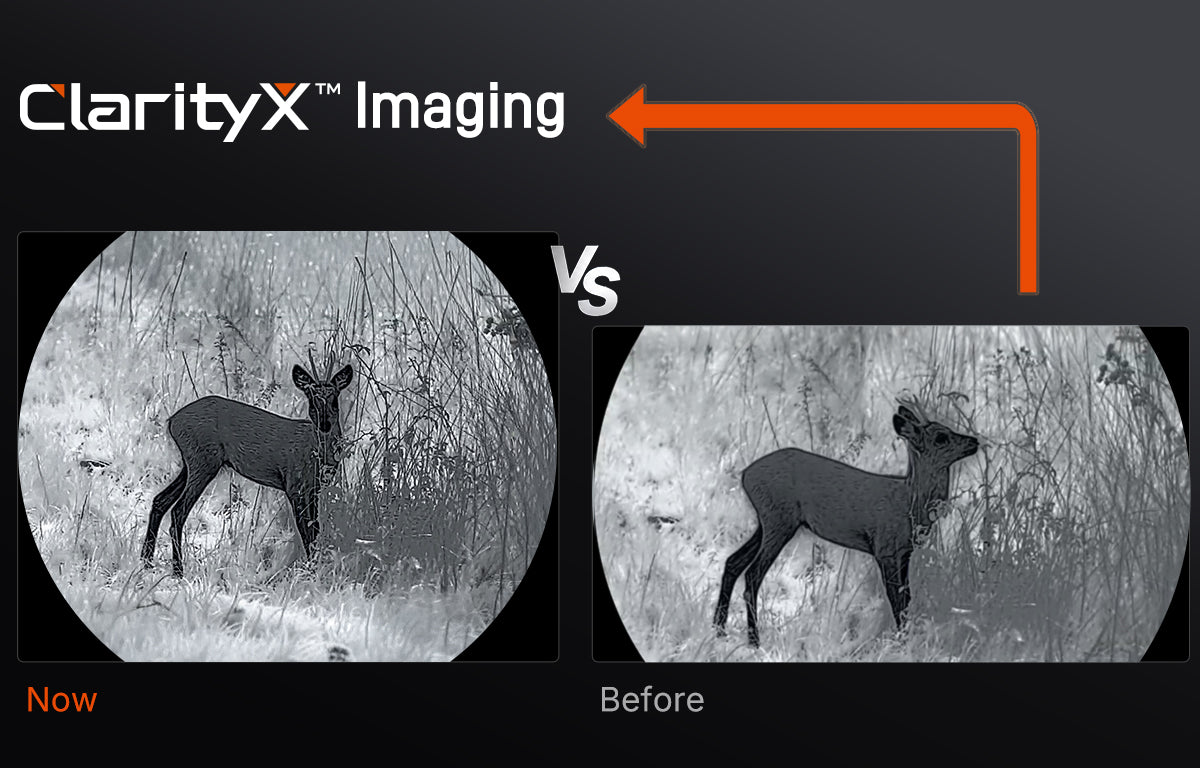
●ClarityX™ Imaging
●Environment-Aware Ballistics
●Lightweight Magnesium Body
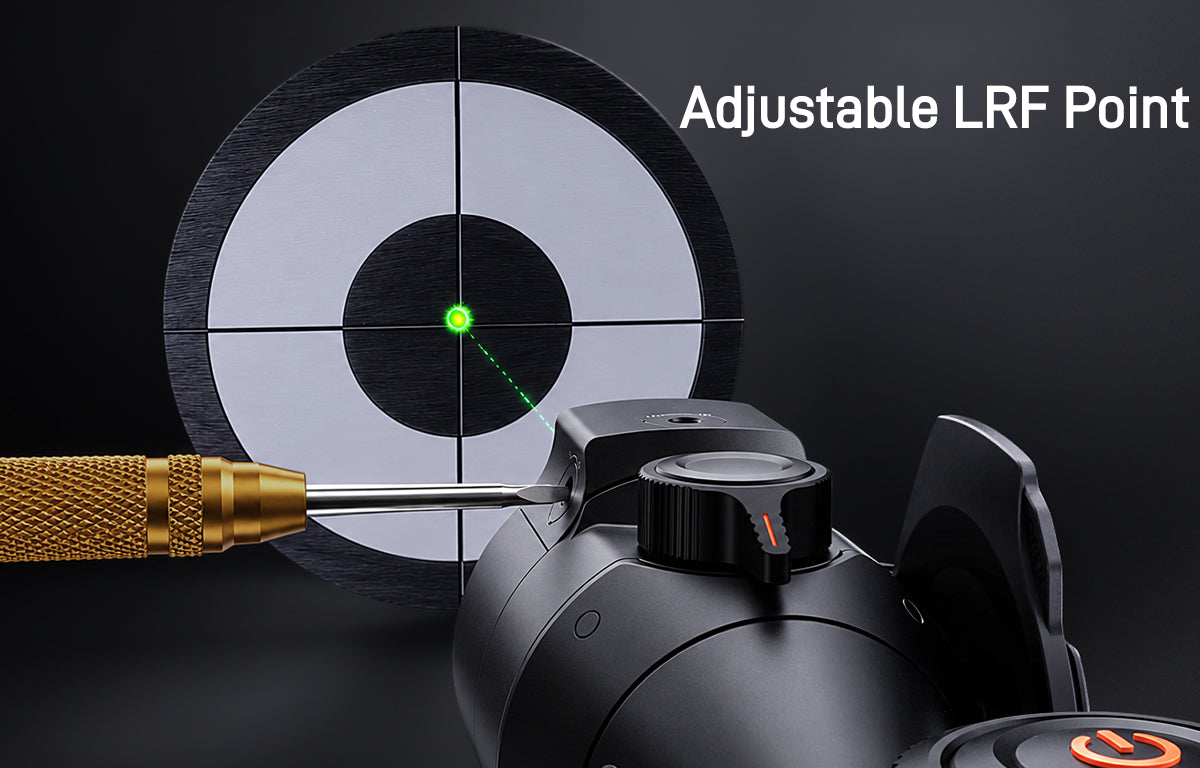

Adjustable LRF Point
Adjust the laser ranging point to precisely align with the center of your reticle. Once aligned, your ranging point and aiming point stay in sync, allowing you to range and aim naturally in a single motion, no need to search for the target again.


Up to 2000m Built-in LRF
With ranging capability up to 2000m, LPR delivers precise and reliable distance measurements even in challenging conditions such as rain, fog, and mist — giving you confidence when accurate ranging matters most.


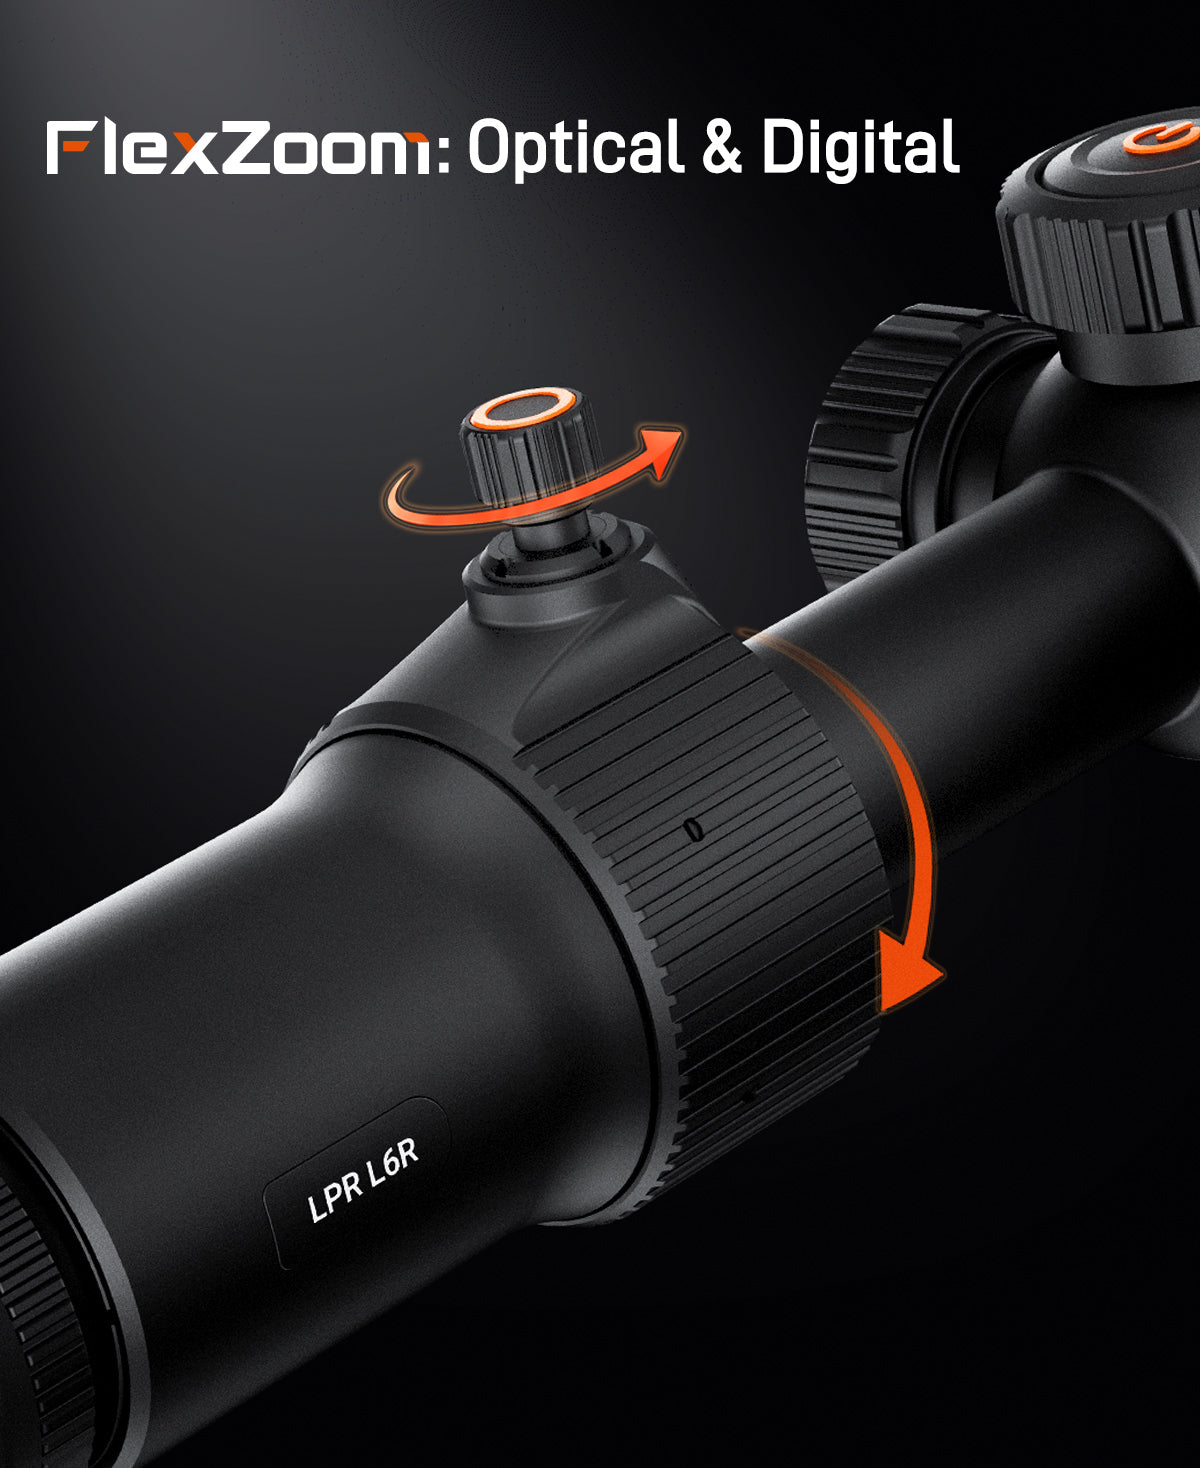
Integrated Optical and Digital Zoom
Optical and digital zoom are integrated near the eyepiece for one-handed magnification control. The UI can be scaled to match your magnification, keeping every zoom level clear and intuitive.
Optical Zoom - Magnify your target smoothly without sacrificing image quality, keeping details clear for observation and precise shooting.
Digital Zoom - Add further magnification when needed for even more flexibility and control.


Brighter With a Wider Lens
A larger-aperture 50 mm F0.9 lens allows greater light intake, delivering a brighter, cleaner image with improved target detail in challenging conditions.


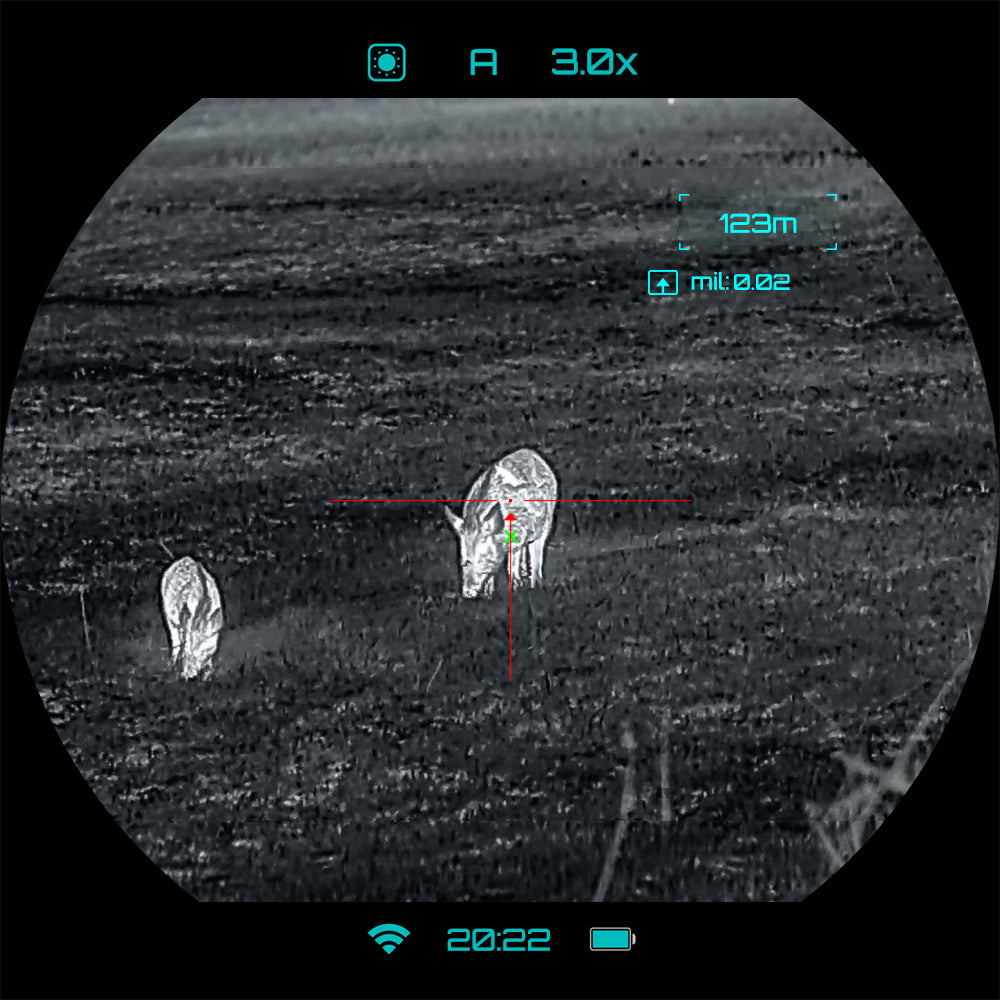
Calculate with Confidence
Built-in ballistic calculation processes key shooting parameters to provide a precise aiming solution, helping you make faster and more confident corrections in the field.


Small Lever. Easy Focus.
A focus lever makes the rotary knob easier to turn, allowing effortless and precise focus adjustments.
Technical Specs
Sensor Specs
Resolution
640×512
Pixel Pitch
12μm
Frame Rate
50 Hz
Optical Specs
Objective Lens
50mm, F0.9
Base Magnification
3.0×
Optical Zoom
3.0~9.0×
Digital Zoom
1~ 4×
Field of View(H×V), degrees/m@100m
8.8°×7.0°/15.4m×12.3m
Eye Relief
50mm
Diopter Adjustment
-5D to +5D
Display Specs
Type
AMOLED
Resolution, pixels
2560×2560
Laser Rangefinding
Max. Measurement Range
2000m
Measurement Accuracy
±1m
Video Recorder
Video / Photo Resolution
1280×1280
Video / Photo Format
.mp4
Built-in Memory
64GB
Physical Specs
Degree of Protection, IP Code
IP67
Operating Temperature Range
-20℃ to +50℃
Weight
912 g
Dimensions
388×104.2×85.8 mm
Connections and Compatibilities
Battery Type
21700 and compatible with 18650
Operating Time on Battery Pack (at t=25℃/72°F)
5.5 h
External Power Supply, V
5V (Type-C USB)
Max Recoil Power on Rifled Weapon (Eo)
1000g / 6000J
Compatible Mounts
Picatinny Mount
Included in the Box
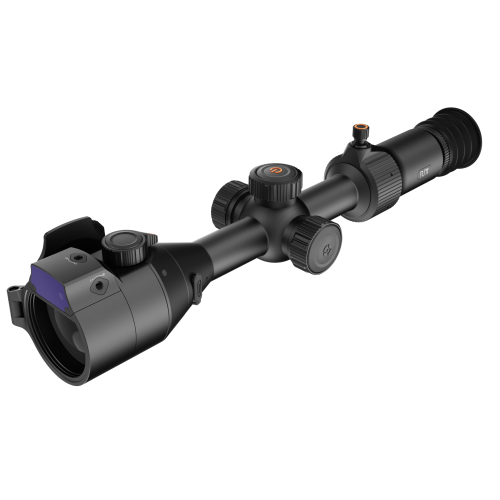
LPR L6R

30mm Rings QD Mount
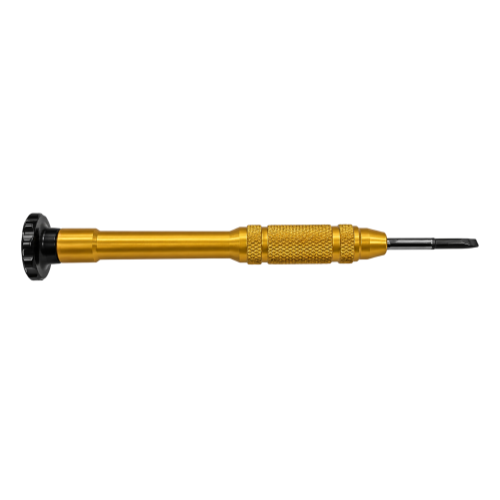
Slotted Screwdriver
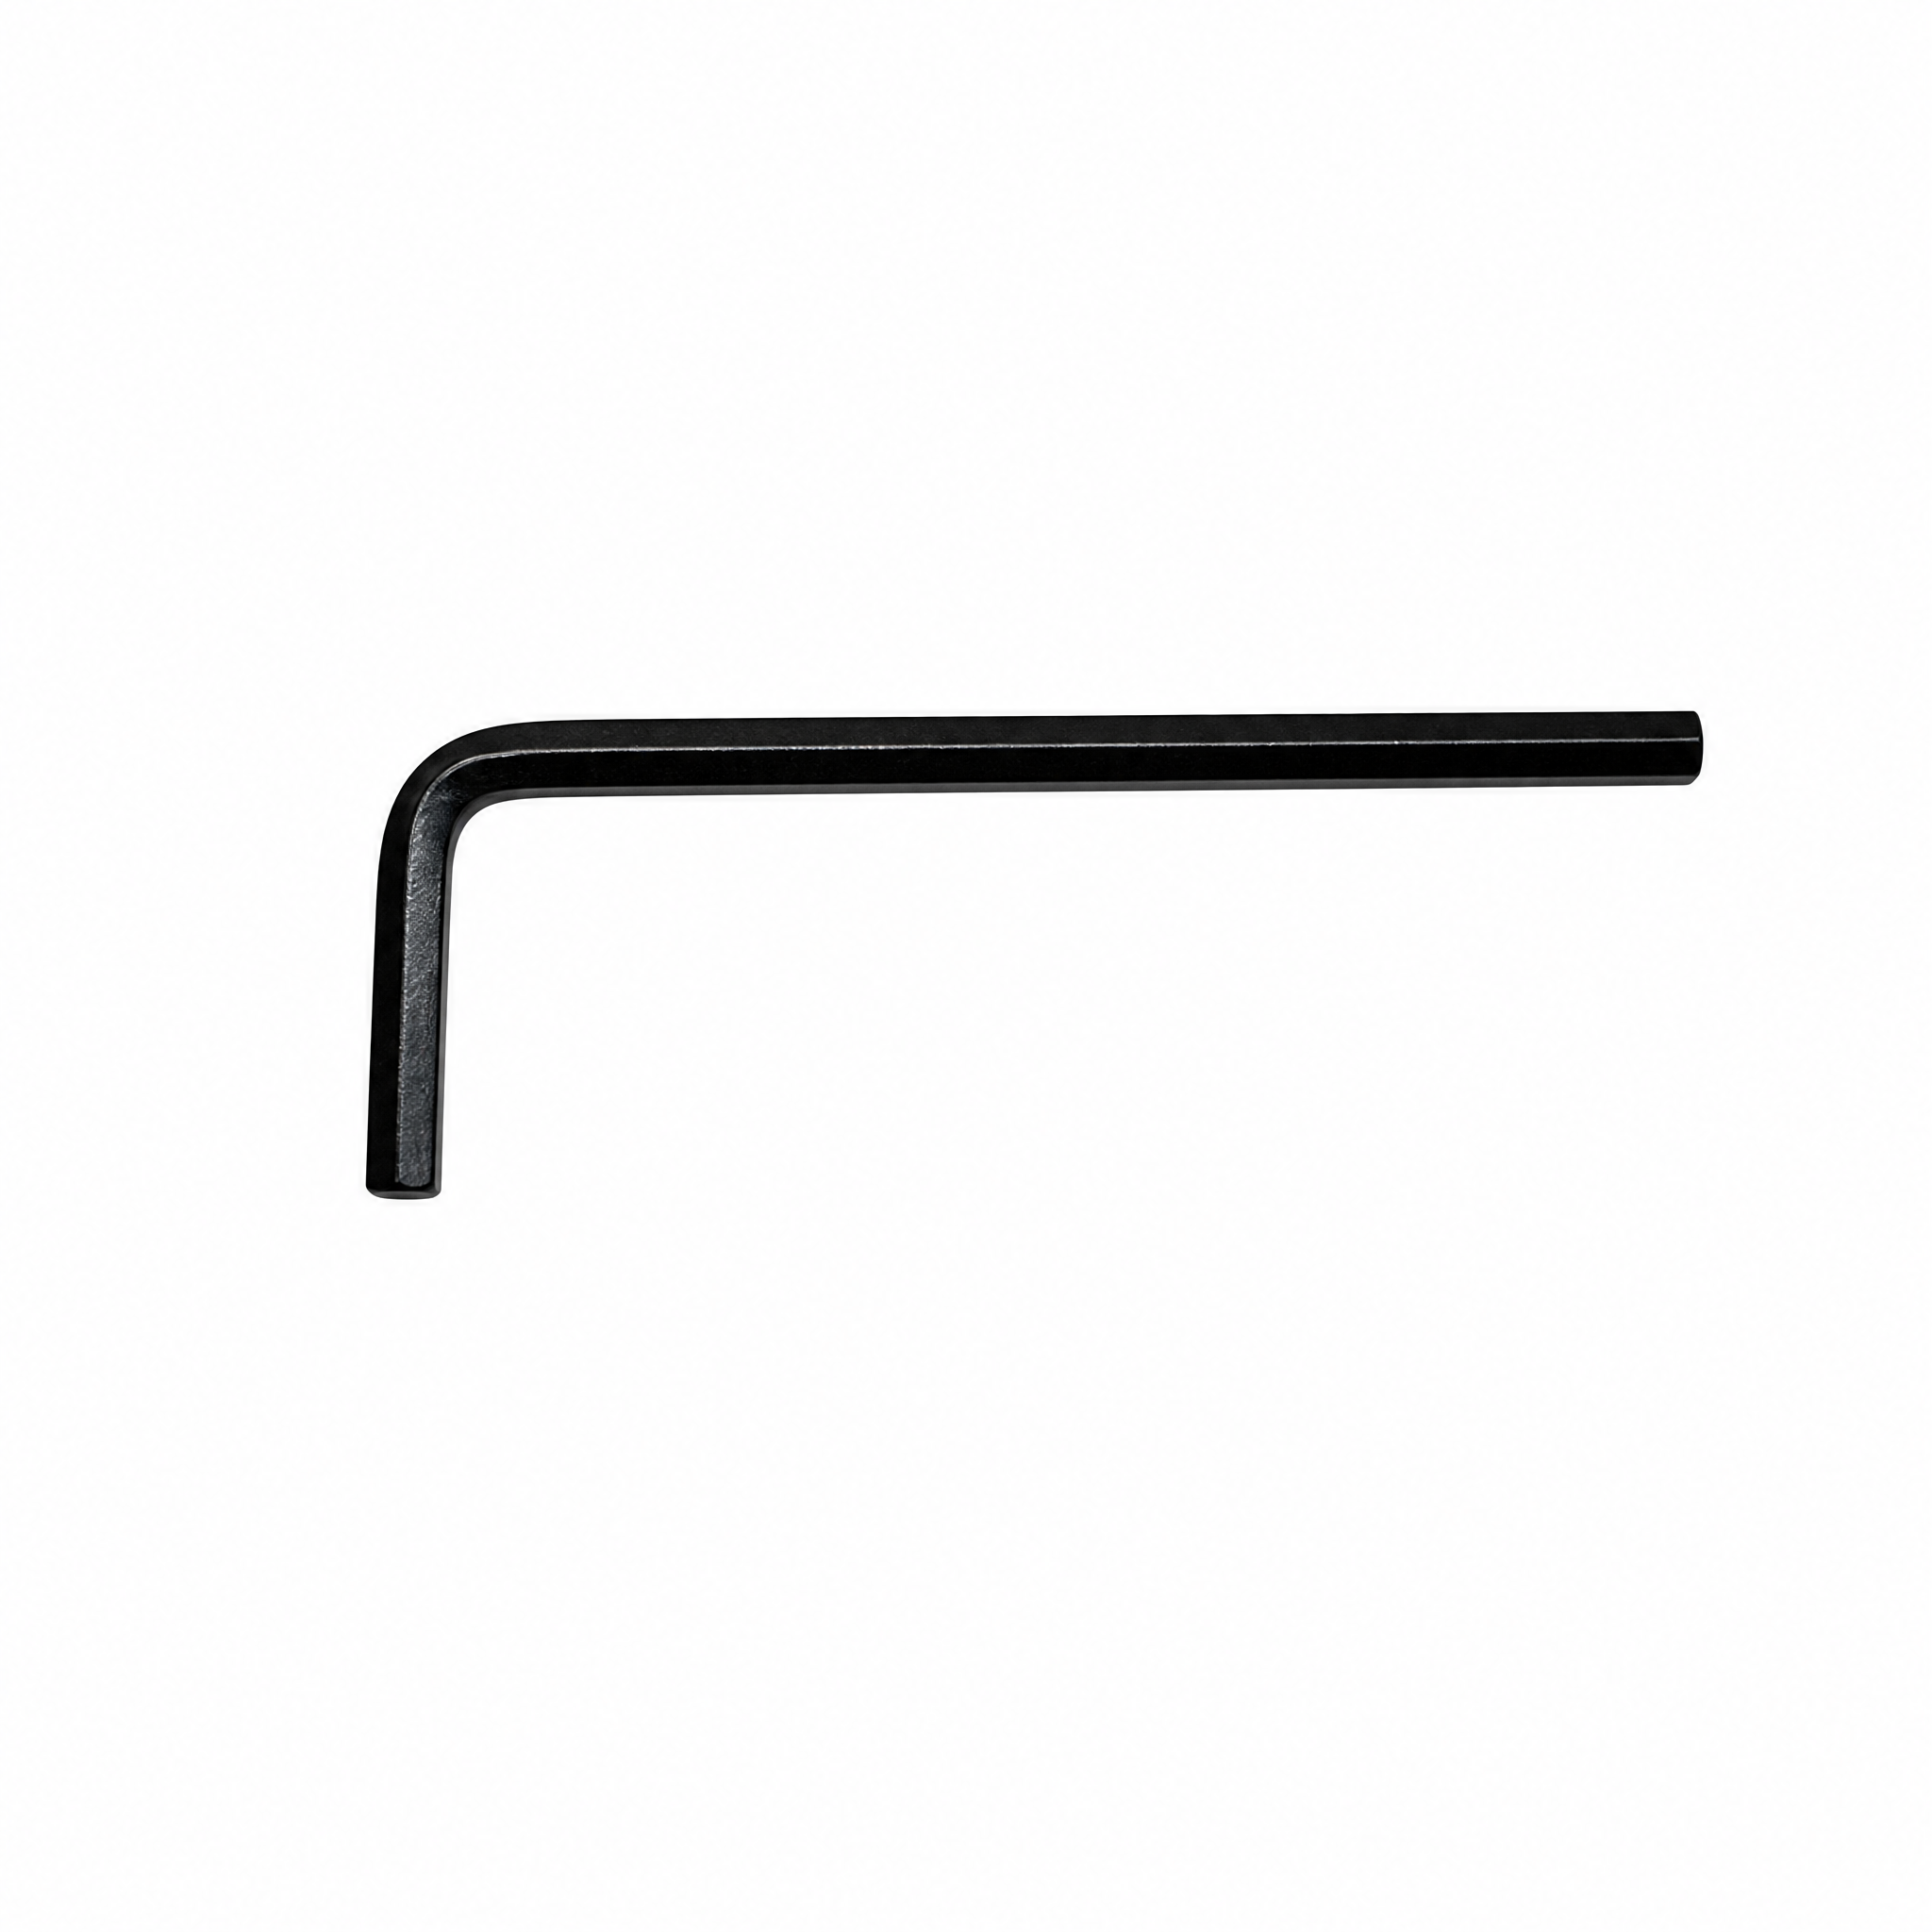
Hex Key
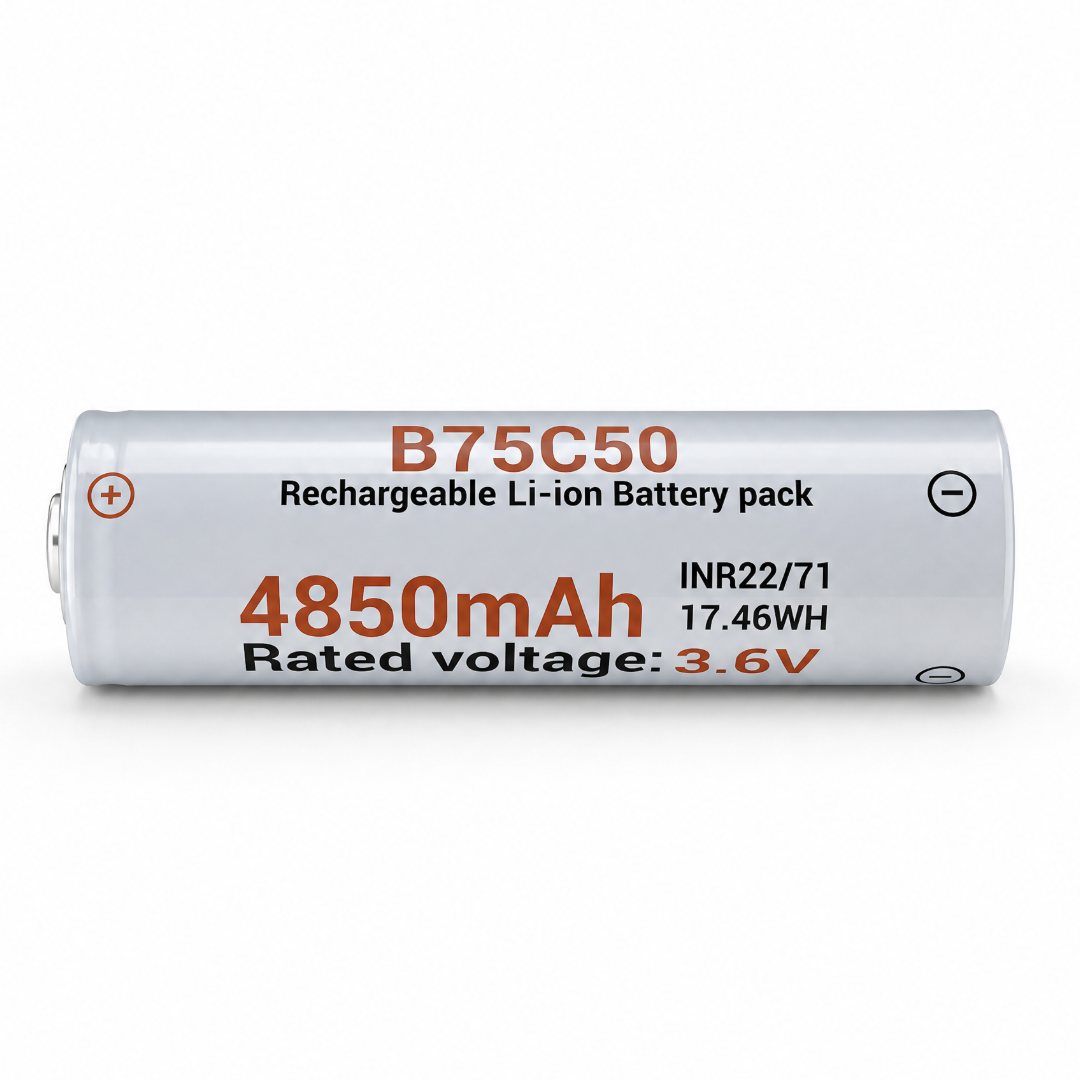
21700 Battery x 2
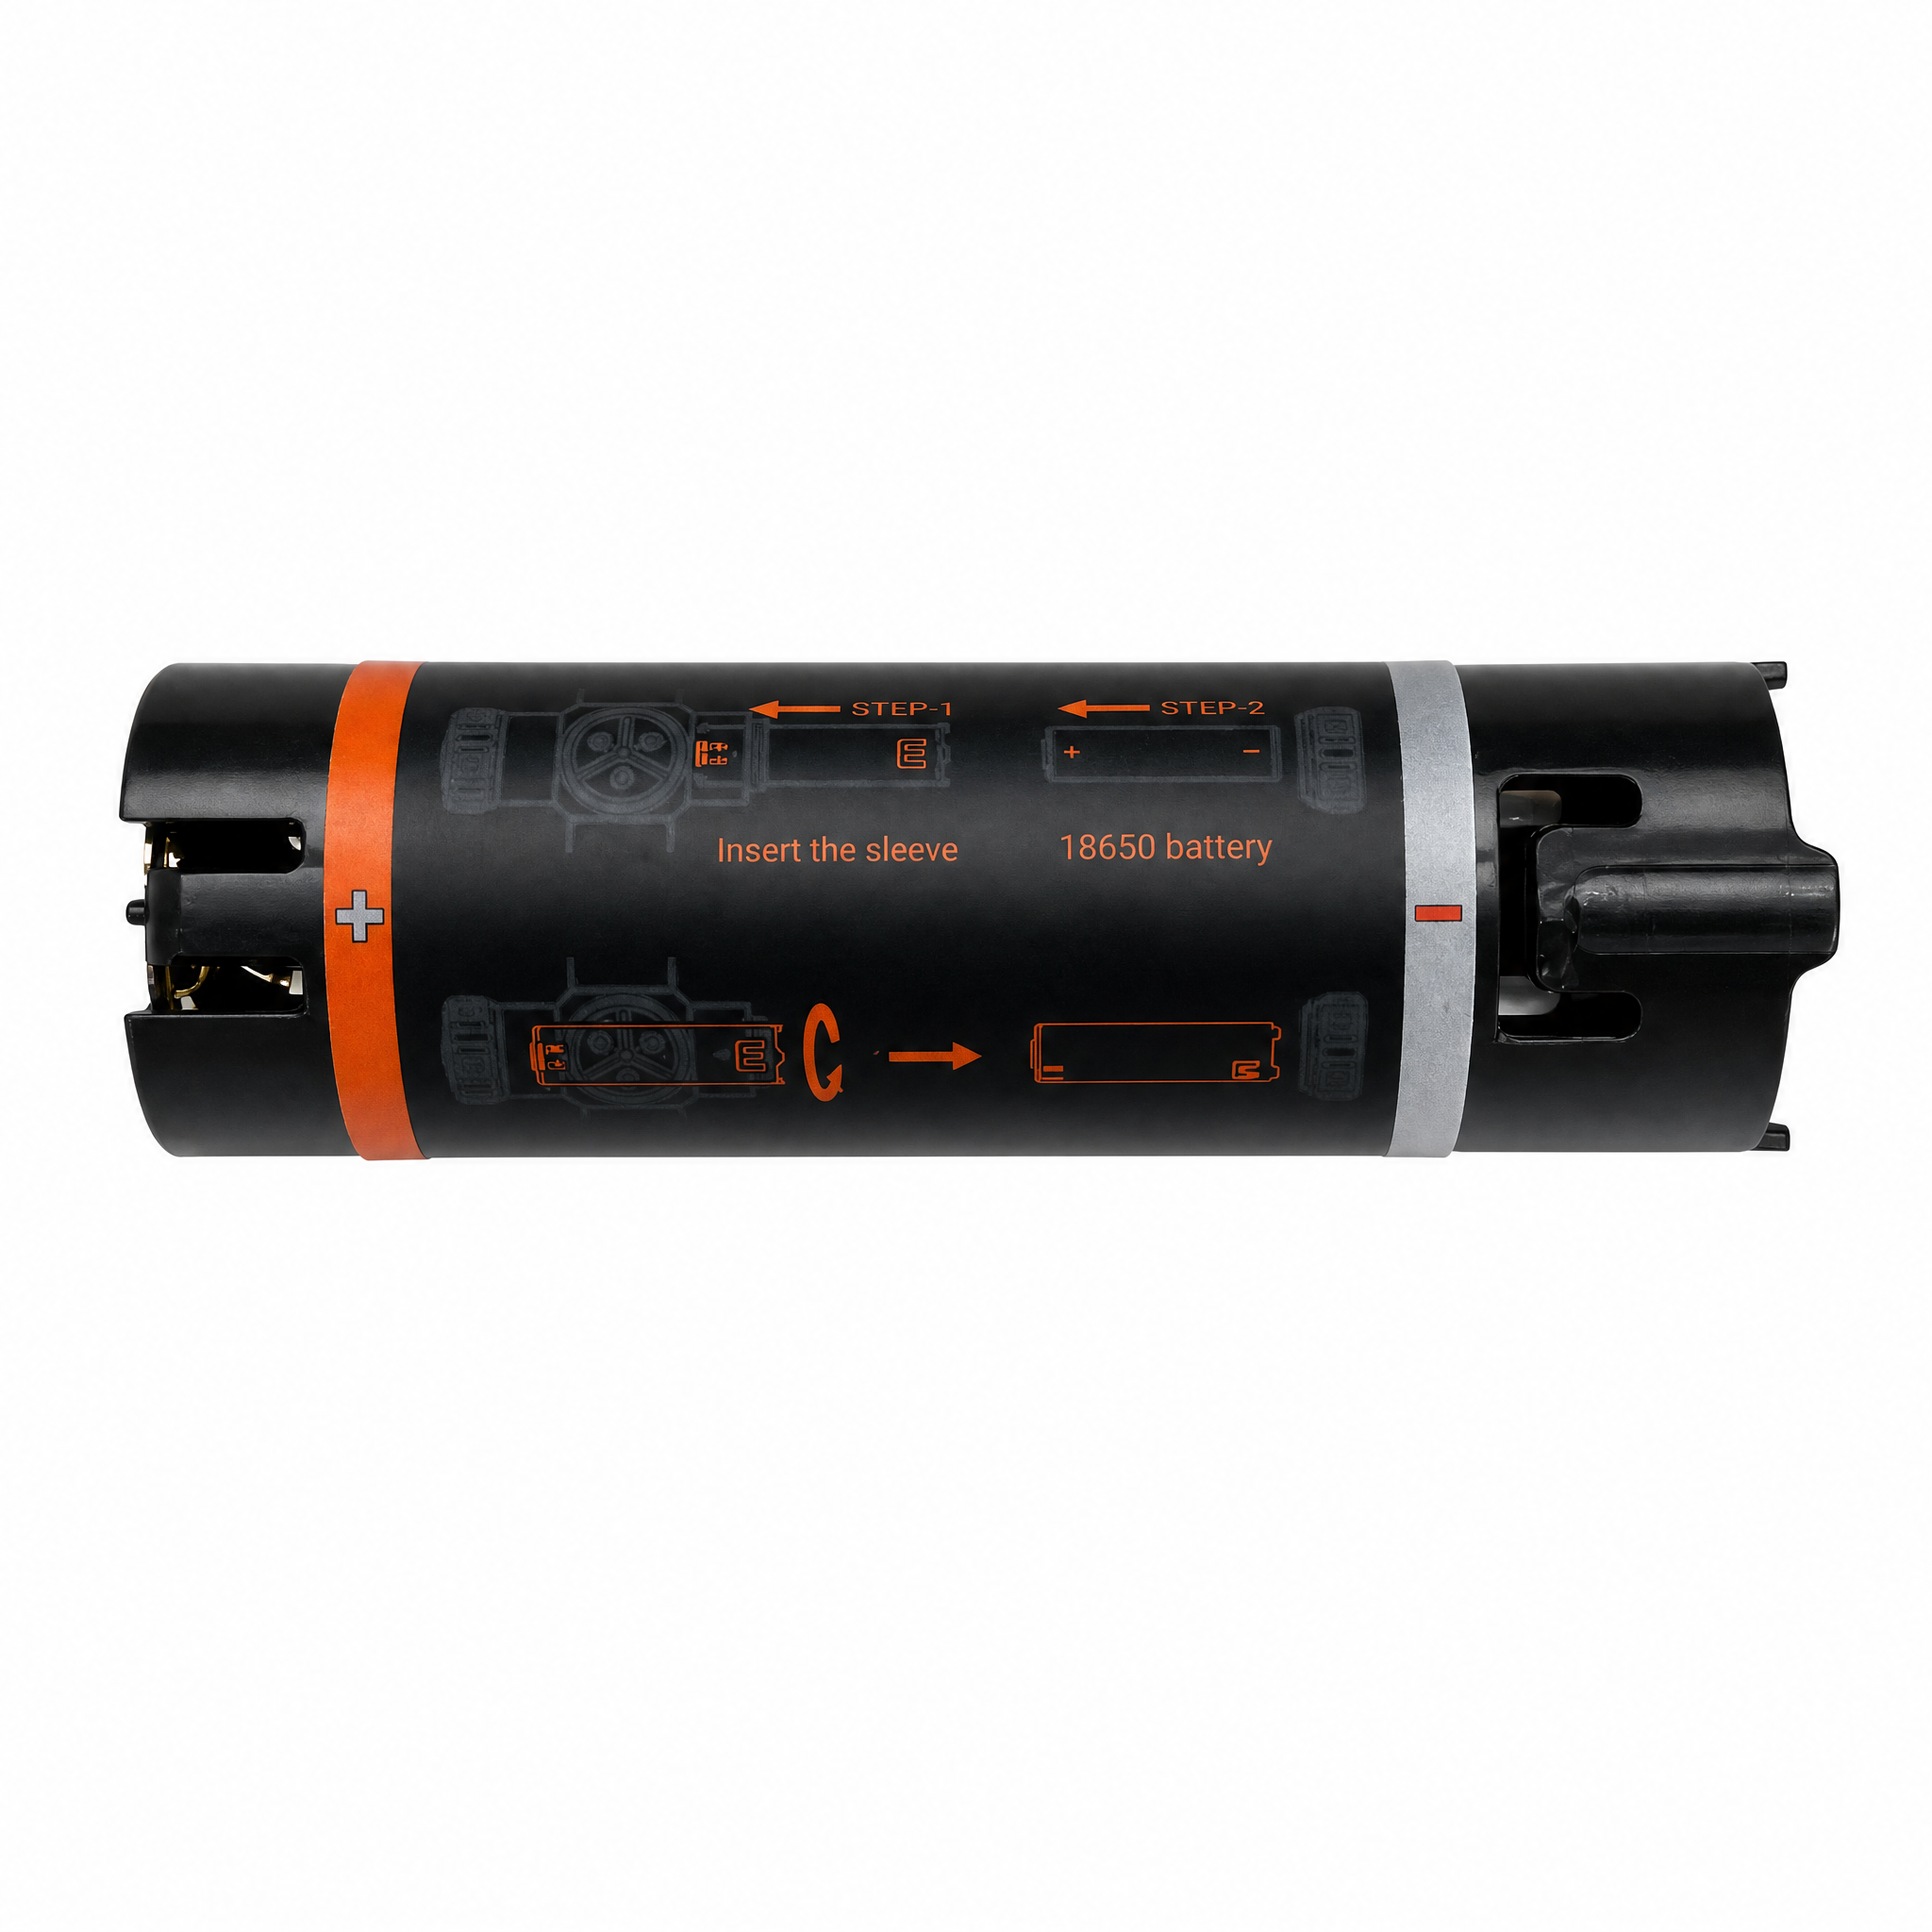
18650 Battery Adapter Sleeve
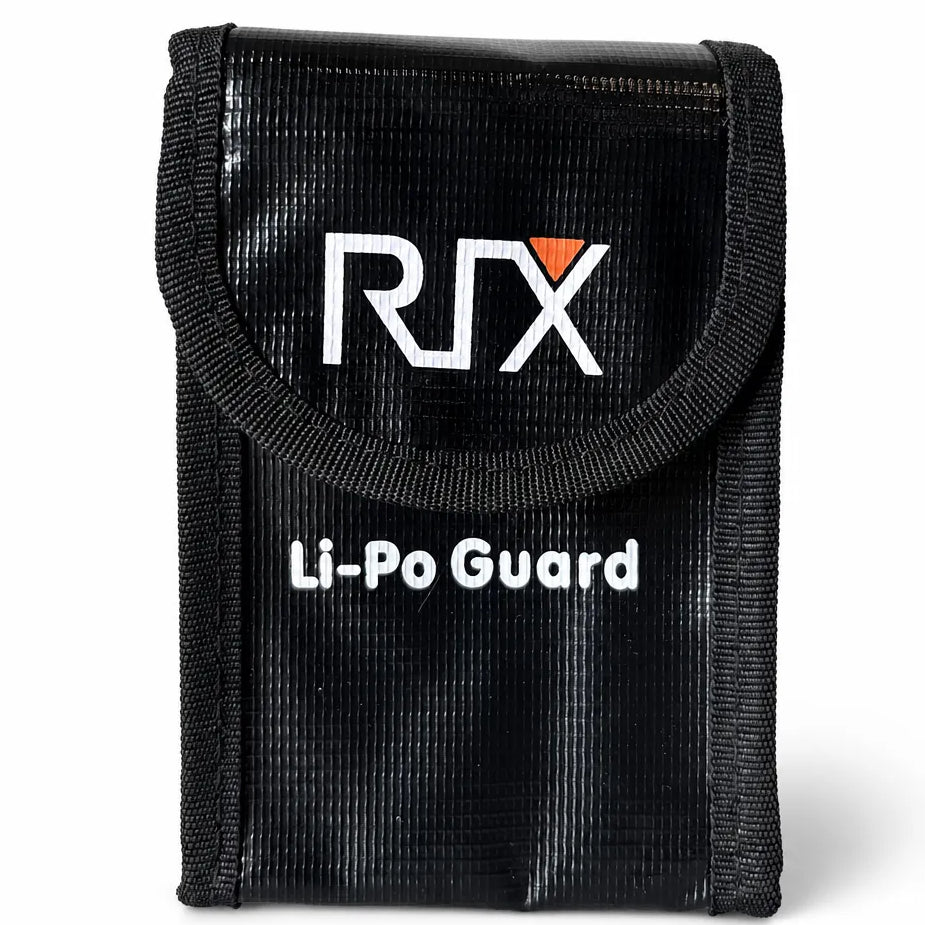
Battery Fireproof Bag
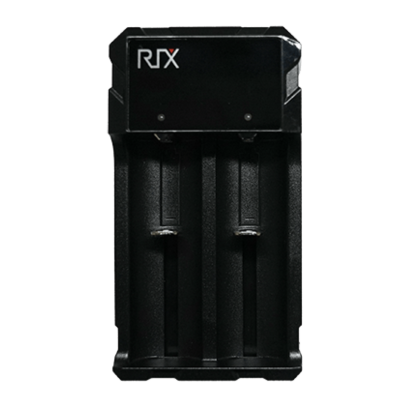
Battery Charger
USB Type-C Cable

Lens Cloth
Thermal Target×10
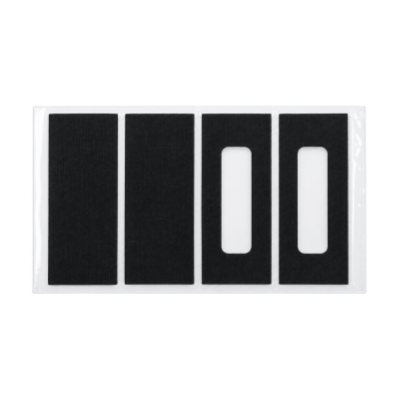
Scope Protective Stickers×4

Downloads
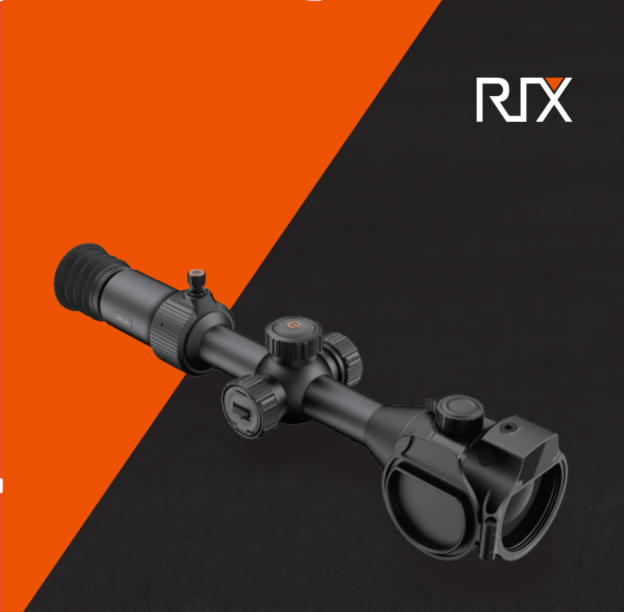
LPR User Manual
FAQs
What features does the LPR offer?
The LPR is a thermal imaging scope built for serious hunters. It's packed with features, including a built-in Laser Rangefinder (LRF), Continuous and Single LRF modes, adjustable LRF alignment, a visible laser, multiple colour palettes, Image Calibration, digital zoom, Brightness and Contrast adjustment, Weather Mode, PIP (Picture-in-Picture), Level (Pitch and Roll), customisable reticles and reticle colours, five Zeroing Profiles, Zeroing, Ballistic Calculation, integrated Environmental Sensors, Recoil Activated Video (RAV), Recoil to Zoom, Auto Standby, Wi-Fi, Correct Bad Pixels, selectable Length and Angle Units, multiple languages, and Factory Reset. You can access more settings and customisation options in the RIX+ App.
What are the key upgrades of the LPR compared with the LEAP series?
•Lower NETD for better thermal image quality.
•A 2,000 m maximum LRF range, with better ranging performance in high humidity.
•Adjustable LRF alignment, so you can precisely align the laser beam as needed, plus a built-in visible laser for LRF calibration and short-range target indication.
•Synchronised optical and digital zoom adjustment, plus adjustable UI/icon size.
•A large 1.03-inch, 2560×2560 AMOLED display for a clearer view.
•About 30% lighter than the LEAP series.
•Integrated Environmental Sensors that monitor temperature, humidity, and air pressure in real time and provide environmental data for Ballistic Calculation.
How do I install the LPR?
The LPR comes with a Quick-Detach (QD) mount compatible with Picatinny / MIL-STD-1913 rails. You can adjust the scope position within the mount and the mount position on the rifle to suit your preferred setup. Eight M4×10 socket head cap screws secure the scope in the mount.
Please do not overtighten the ring screws. Maximum torque: 21 in-lbs (2.4 N·m).
Can I use a different mount?
Yes. The LPR has a 30 mm tube and works with other compatible mounts. For the LPR L6R, we recommend a mount height of at least 40 mm.
What should I do before using the LPR for hunting?
Before heading out, complete the following setup:
1.Power on the scope.
2.Adjust the dioptre, focus, brightness, contrast, and other image settings as needed.
3.Install and securely mount the scope on the rifle.
4.Zero the scope and save the appropriate Zeroing Profile.
5.Calibrate the LRF if you plan to use the rangefinder.
How do I zero the LPR?
1.Make sure the scope is properly mounted on the rifle.
2.Select a digital magnification on the Home Screen.
3.Open the Zeroing function.
4.Select the Zeroing Profile you want. The LPR has five, labelled A–E by default. You can rename them in the RIX+ App.
5.Set the zeroing distance and, if needed, the Length Unit.
6.Open the Zeroing interface and follow your normal zeroing procedure. Use the Top Knob and Right Knob to move the reticle. If the rifle isn't fixed in place and you don't need to calculate the point-of-impact offset, use the Freeze function to make reticle adjustment easier and more precise.
7.Save your zeroing data and exit.
If the profile you selected is set as the LRF reference profile, the scope will prompt you to calibrate the LRF.
What should I know before calibrating the LRF?
You can mechanically adjust the laser beam position on the LPR's LRF module using the top and side adjustment screws. The module also has a visible laser, which you can turn on from the Home Screen or the LRF Calibration interface. It's meant for LRF calibration and short-range target indication.
WARNING: DO NOT EXPOSE EYES TO THE LASER BEAM.
For LRF calibration, you can choose either:
• Intersection: The laser beam and optical axis converge at a specific zeroing distance.
• Parallel: The laser beam and optical axis stay parallel.
The vertical distance between the lens centre and the laser source is 32.15 mm for the LPR L6R.
How do I calibrate the LRF laser?
1. Select a Zeroing Profile and complete zeroing.
2. Open the LRF Calibration interface and select the profile you just zeroed as the reference profile.
3. Aim the centre of the reticle at a target at your zeroing distance and hold the rifle steady.
4. Turn on the visible laser.
5. Use the top and side adjustment screws on the LRF module to align the laser beam with the target.
6. Save your settings and exit the LRF Calibration interface.
Alternatively, you can position the laser directly above the target, with a vertical offset equal to the distance between the lens centre and the laser source.
How do I use Ballistic Calculation?
You can turn Ballistic Calculation on or off in the Main Menu, and set the ballistic parameters in either the Main Menu or the RIX+ App. It's off by default on a new device. After you turn it on, you must set the ballistic parameters before using it. The scope comes with default parameters for initial testing, but we recommend entering your own verified parameters before actual use.
How do I adjust the LPR for the best image quality?
Start with the optical adjustments, then fine-tune the image settings:
1. Dioptre: Turn the Eyepiece Dioptre until the on-screen text and icons look sharp.
2. Focus: Turn the Focus Knob until the target image is as clear as possible.
3. Brightness: Adjust Brightness in the Main Menu for your lighting conditions.
4. Contrast and Sharpness: Adjust these to fine-tune image clarity and overall appearance.
5. Weather Mode: In high humidity, switching to Rain mode may improve clarity. In clear, dry weather, Rain mode may add visible noise.
6. Image Calibration: If the image gets noisy, briefly press the Power Button to run Image Calibration. The image may freeze for about a second, then clear up. The scope can also run Image Calibration automatically when it is powered on and idle, depending on image quality.
7. Correct Bad Pixels: If you see abnormal or defective pixels, use Correct Bad Pixels in the Main Menu to fix them.
How do I use the optical and digital zoom?
The LPR combines optical and digital zoom in a single Optical-Digital Zoom Adjustment Lever.
• Optical Zoom: Push the lever left or right to change optical magnification.
• Digital Zoom: Move the zoom knob up to unlock it, then turn it to change digital magnification. Move it back down to lock it when you're done.
• UI/Icon Size: At higher optical magnification, some on-screen status information or icons may be hard to see. Use the Right Knob to adjust the UI/icon size so everything stays visible.
• Recoil to Zoom: When turned on, the scope automatically switches to a preset magnification after it detects recoil.
2) Zeroing Calibration — Press Record to enter the calibration interface:
Select the calibration distance, align the reticle with the target center and fire. When the impact point appears, press Laser to freeze the frame. Adjust X/Y offsets with the encoder to align the reticle with the impact point, then press EXIT → Laser to confirm and save. Press EXIT again to exit.
How do I set up the reticle?
In the Main Menu, select the Reticle Type and Reticle Colour. Reticles 1–4 keep the same apparent size when digital zoom changes. Reticles 5–9 scale with digital zoom. Reticle 9 is customisable in the RIX+ App.
What battery does the LPR use?
The LPR uses a replaceable 21700 battery. You can also use an 18650 battery with the included battery adapter sleeve. When installing the battery, make sure the positive terminal faces toward the inside of the battery compartment. If the battery is installed the wrong way round, the scope won't power on, but it won't be damaged. For replacements, use a 21700 battery about 75 mm long or an 18650 battery about 70 mm long.
How long does the battery last?
Battery runtime depends on temperature and how you use the scope. The published operating time was measured at 25°C with RIX batteries. Battery life may be shorter in cold weather. For the rated operating time, see the LPR product specifications.
Can I use an external power bank?
Yes. You can power the LPR through its USB Type-C port with a compatible external 5V/2A power source, such as a power bank. This can extend the scope's operating time.
Can I charge the battery inside the scope?
Yes, but it takes longer than charging outside the scope. For regular use, we recommend charging the battery with the included battery charger.
How do I record video?
The LPR supports both manual video recording and Recoil Activated Video (RAV).
• Manual Recording: On the Home Screen, press and hold the Left Button to start or stop recording.
• RAV: Turn on Recoil Activated Video in the Main Menu, and the scope records automatically when it detects recoil.
You can access recorded videos through the RIX+ App, or by connecting the powered-on scope to a computer with a USB Type-C cable.
Can I customise the button and knob functions?
Yes. You can customise the functions assigned to the buttons and knobs in the RIX+ App.
How do I change the device language?
The scope asks you to select a language the first time you power it on. You can change it later from the Main Menu.
How do I connect the LPR to the RIX+ App?
1. Turn on Wi-Fi in the Main Menu.
2. Open the RIX+ App on your smartphone.
3. Follow the in-app instructions to connect the scope.
How do I update the firmware?
Open the RIX+ App to check for a new firmware version. If one is available, follow the in-app instructions to update the scope.
What calibres is the LPR compatible with?
The LPR is built to withstand recoil impacts of up to 1,000 g with a 0.3 ms pulse width, which makes it suitable for hard-recoiling hunting rifles and shotguns, including larger-calibre platforms such as .375 H&H, 12-gauge shotguns, and 9.3×64. Actual compatibility depends on your specific firearm, ammunition, mounting system, and recoil characteristics, so always verify your complete setup before use.